Large print: Make a tissue paper window picture
This is the same card in bigger type, black on white. It may print on more than one sheet.
Making and crafts
Make a tissue paper window picture
Press torn pieces of colored tissue paper onto clear sticky film, then hang it in a window to let light shine through.
For enjoyment and time together. Adaptations are suggestions, not medical advice. Questions about health or safety go to a doctor or care team.
15 min setup15–30 min activityseated-friendlylow costNot for under 3: small parts
What you need
- Clear self-adhesive film (contact film), cut by the helper to about letter size
- Colored tissue paper, torn beforehand into pieces about the size of a palm
- Two or three shallow bowls to sort the colors
- Masking tape, for the helper to hold the film and to hang it
- Scissors, for the helper to use beforehand only
Make it easier
Offer one color at a time in a single bowl, and place the first piece together.
What to do
- Before you start, the helper cuts the film to size, peels off the backing and tapes it sticky side up to the table.
- Put the bowls of tissue pieces within easy reach.
- Choose a color together. Any color is a good one.
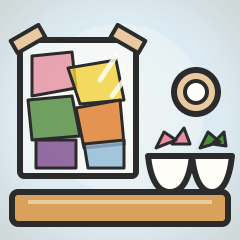
- Pick up a piece and press it onto the sticky film anywhere you like.
- Add more pieces, and let them overlap so the colors mix.
- Stop when the picture feels full or you are ready to be done.
- The helper lays a second piece of film over the top or folds the first one in half, and smooths it down.
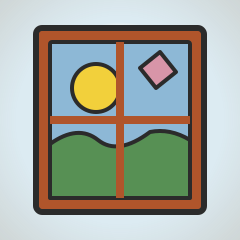
- Hang the picture in a window and look at the light coming through.
It is okay to stop. It is fine to stop with only a few pieces on the film. A sparse picture lets in plenty of light, and you can add more another day.
Pause or stop if the person seems to be in pain, distressed or tired, or simply wants to stop. Trying again another day is fine.
Safety
- Not for under 3: small parts
- Adult needed for sharp tools
- Check for glue or tape sensitivity
- Check for skin sensitivity to paint or materials
- Keep away from mouths
- Check the chair and space before standing
- The helper cuts the film with scissors beforehand and puts them away. The person does not cut anything.
- Keep small torn tissue pieces and the film away from the mouth, and stay nearby while they are out. Clear them away afterward.
- Check for sensitivity to the sticky film or tape, and keep the sticky side off bare skin and hair.
- The helper hangs the picture, using a stable chair or step stool if needed. The person does not climb or lean out.
More versions and safety notes: creativeactivities.org/activity/make-a-tissue-paper-window-picture/. Report a safety problem: creativeactivities.org/corrections/#report-safety. Corrections: creativeactivities.org/corrections/