Large print: Print with sponge shapes
This is the same card in bigger type, black on white. It may print on more than one sheet.
Making and crafts
Print with sponge shapes
Press a thick sponge shape into paint, then onto paper, and lift it to see the print.
For enjoyment and time together. Adaptations are suggestions, not medical advice. Questions about health or safety go to a doctor or care team.
15 min setup15–30 min activityseated-friendlylow cost
What you need
- Thick kitchen sponges, cut by the helper into big, simple shapes such as a circle, a square or a leaf
- Washable, non-toxic poster paint in two or three colors
- Two or three shallow plates to hold the paint
- Thick paper or card, plain or folded into a card
- Newspaper or a plastic cloth, and paper towels
- Scissors, for the helper to use beforehand only
Make it easier
Offer one shape and one color at a time, and press the first print together, hand over hand if the person wants that.
What to do
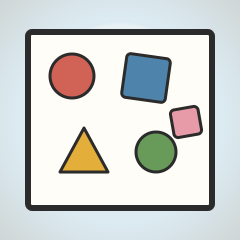
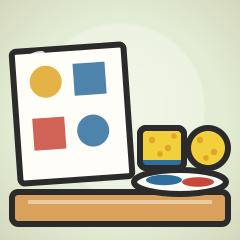
- Before you start, the helper cuts the sponges into big, simple shapes and puts the scissors away.
- Cover the table, then set out the paper and the sponge shapes.
- Pour a thin layer of paint onto each plate, one color per plate.
- Choose a shape and a color together. Any choice is a good choice.
- Press the sponge flat into the paint, then press it onto the paper.
- Lift the sponge straight up and look at the print.
- Print again in the same place or somewhere new, and change shape or color whenever you like.
- Leave the paper flat to dry and choose where to show it.
It is okay to stop. It is fine to stop after one print. Leave it to dry and put the sponges and paint away, or come back to it another day.
Pause or stop if the person seems to be in pain, distressed or tired, or simply wants to stop. Trying again another day is fine.
Safety
- Adult needed for sharp tools
- Check for skin sensitivity to paint or materials
- Keep away from mouths
- The helper cuts the sponges with scissors beforehand and puts them away before the person sits down. The person does not cut anything.
- Use washable, non-toxic paint, check for skin sensitivity first, and wash hands afterward.
- Keep paint and sponge pieces away from the mouth, and stay nearby throughout.
- Throw away any trimmings from cutting the sponges, and wipe the table and floor around the plates.
More versions and safety notes: creativeactivities.org/activity/print-with-sponge-shapes/. Report a safety problem: creativeactivities.org/corrections/#report-safety. Corrections: creativeactivities.org/corrections/